
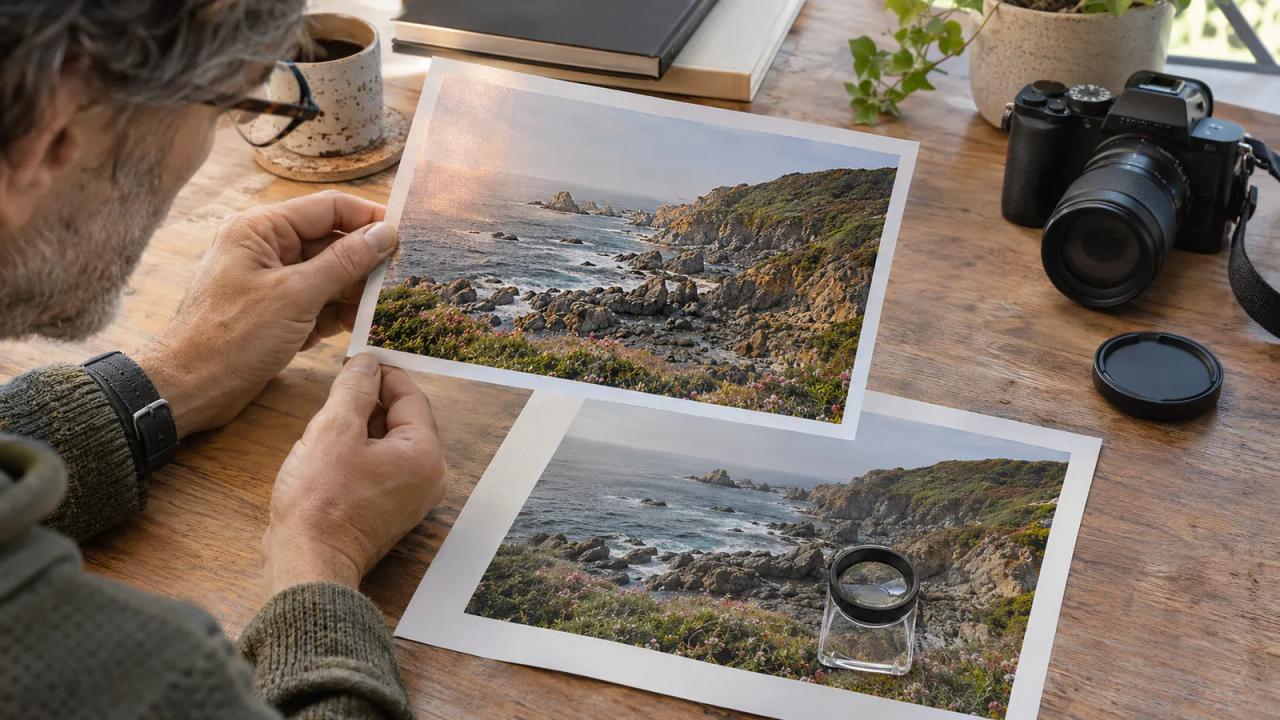
Use Photoshop beta’s ambient effects removal on a working copy, then compare the proposed variation with the original at both detail size and publication size. Approve the edit only after checking the scene features your photograph needs to preserve.
Jo, a fictional walking-guide creator, has a sunset photograph for a route introduction. A patch of lens flare crosses the foreground path. Jo wants to judge whether a reduced-flare version would help readers follow the picture while preserving the path, fence, and horizon.
| Review-sheet field | Filled fictional decision | Evidence to keep |
|---|---|---|
| Source photograph | ridge-walk-014, sunset view along a fenced path | Original capture kept in the shoot folder |
| Intended use | Header illustration for a walking-route introduction | Page mockup showing the final crop |
| Proposed change | Review one lens-flare removal attempt | Working document with the edit separate |
| Details to preserve | Fence wires, path edge, skyline, and sun position | Matching close views of source and variation |
| Approval decision | Choose after detail and placement reviews | A written keep, revise, or discard decision |
| Publication record | Note whether the illustration uses generative retouching | Final filename and a note beside the delivery |
The sheet is a fictional example. No photograph was processed or tested to produce the decisions below.
Adobe includes ambient effects removal in its November 2026 Photoshop beta release notes. This guide turns that current feature into a review process a creator can repeat on a real assignment.
Check the beta and the working file
Adobe’s Remove ambient effects instructions, updated November 10, describe the desktop beta feature. It requires cloud processing and does not support 32-bit documents. The documented settings are Mode Auto and Generative AI processing Cloud.
Confirm the feature appears in the beta installation you intend to use. Write down the app version in the review sheet. If it is unavailable or unsuitable for the file, continue with your ordinary editing process and keep that choice in the delivery note.
Save the source capture before starting. Work in a separate document so you can return to the scene as recorded. Give the working file a name that connects it to the source photograph. A collaborator should be able to locate the original from the review sheet.
Make one removal attempt easy to assess
The documented route is Remove tool, Find distractions, then an Ambient effects choice. Adobe lists shadows, reflections, lens flares, and atmospheric effects. The edit appears on a generative layer, with two variations in Properties, including an enhanced-detail option.
Jo’s exercise begins with lens flare because that is the specific distraction on the sheet. Keep other changes, such as cropping or color treatment, out of the first comparison. A simple comparison helps a reviewer identify what the proposed removal actually changed.
Save the first attempt before experimenting further. Label each variation in your notes with the effect requested and the file version. If you later change the crop or exposure, record that separately so the reviewer can follow the sequence.
Compare details against the original
Inspect the edges that carry meaning in the picture. In Jo’s fictional photograph, the fence wire should remain continuous, the path should keep its shape, and the horizon should match the source. Open corresponding areas at the same zoom and move between them.
Write down any difference you can point to. “The lower fence wire breaks beside the post” gives a reviewer a useful place to look. A vague note about realism leaves the next person guessing.
Check quieter regions too. Repeated patches, abrupt texture changes, or an unfamiliar shape may be easier to notice away from the intended repair. If a variation creates a questionable detail, keep the original available and reconsider the edit. A generated detail is something to review before publication.
Judge the image in its actual placement
After the detail review, place the candidate in the route-page mockup. Use the crop, width, and nearby text planned for publication. Check that the foreground path remains clear after the header trims the sides.
The picture and the route description need to tell a consistent story. Jo’s page uses the photograph to introduce the landscape. Navigation instructions belong in the written route and any verified map material. Keep the illustration’s role clear in the layout.
Open the exported file on a phone and a larger display. Read the surrounding headline, inspect the crop, and compare it with the approved mockup. If the original already works at that size, it remains a candidate for the final page.
Record the decision and the edit
Choose keep, revise, or discard and explain the choice in a sentence tied to the review. A filled decision might read, “Discard variation two because the lower fence wire changes beside the nearest post.” This is an example of a useful note, with no claim about a real test result.
Keep the selected version with its source and editable document. Record the final crop, export dimensions, and which variation was used. Include any other edits made after the comparison.
For material presented as a faithful record of conditions, decide whether changing an atmospheric effect fits the assignment before using the feature. Fog, smoke, shadows, and reflections can carry information about a scene. Give the editor enough context to make that decision and retain the unedited reference.
Deliver a file the next person can verify
Send the selected export with the review note and a clear description of any generative retouching used. Let the publisher choose accurate caption or disclosure wording for the placement. Avoid describing an altered image as an untouched capture.
Use the o1 guides to adapt the review sheet and the browser o1 AI workspace to draft a written photo brief. Processing and visual comparison happen in your photo editor. The physical o1 device is in development, as explained in the current o1 specifications.
Pick one owned photograph with a specific distraction, identify three scene details that must survive, and write the approval test before making the first edit.